You bought a curling iron brush. You followed the tutorial. But your hair still falls flat an hour later—or worse, ends up frizzy and tangled. Frustrating? Absolutely. And it’s not your fault. Most people treat curling iron brushes like magic wands—just twist and go. But without the right technique, heat settings, or timing, you’re just baking damage into your strands with zero payoff. The real solution isn’t another tool—it’s mastering how this hybrid device actually works.
Why Standard Styling With a Curling Iron Brush Backfires
Most users crank the heat to “maximum” thinking hotter = tighter curls. Wrong. Excessive heat dehydrates the hair cuticle, leading to breakage and limp strands that won’t hold shape. And here’s what nobody tells you: curling iron brushes combine tension from brushing with direct heat. Apply too much pull while rotating, and you stretch the curl before it even sets.
The result? Half-formed waves that vanish by lunchtime. Or worse—split ends and a fried texture that screams “overprocessed.” The tool isn’t broken. Your method is.
How to Use a Curling Iron Brush Like a Pro
Step 1: Prep Hair for Heat Defense
Never skip thermal protection. Apply a lightweight serum or spray evenly from mid-length to ends. Focus on sealing the cuticle—not weighing hair down. Heavy creams? They’ll steam under heat and cause frizz.
Step 2: Section Strategically
Divide hair into four quadrants—two in front, two behind. Clip away what you aren’t working on. Start at the nape. Smaller sections = more defined curls. Larger = looser waves. Match section size to your desired outcome, not convenience.
Step 3: Master the Rotation + Release Timing
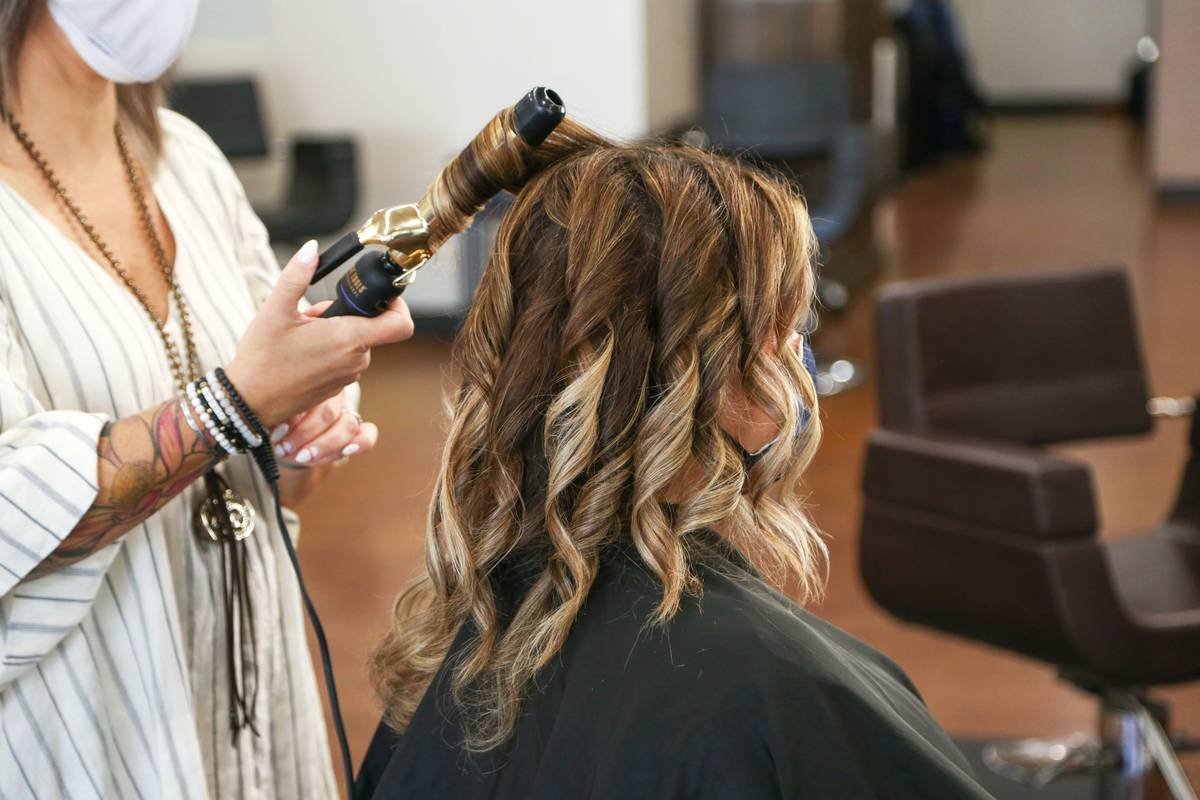
Insert the brush at root level. Rotate 360 degrees as you slowly glide down. Hold the twist for 5–7 seconds—then release without tugging. Let the curl cool in your palm before dropping it. Cooling locks the shape. Rush this step, and gravity wins.
| Method | Heat Setting | Section Size | Curl Longevity | Risk of Damage |
|---|---|---|---|---|
| High heat + large sections | 400°F+ | 2 inches wide | <2 hours | High |
| Moderate heat + medium sections | 320–360°F | 1–1.5 inches | 6–8 hours | Low |
| Low heat + small sections + cooling time | 280–320°F | <1 inch | 12+ hours | Minimal |
The Industry Secret: It’s Not About Curls—It’s About Direction
Here’s what top session stylists won’t admit publicly: the direction you rotate the curling iron brush matters more than temperature. Alternate rotation—left side clockwise, right side counter-clockwise—to create natural-looking volume that frames the face. Uniform rotation gives that “helmet hair” effect you see on mannequins, not humans. And never rotate toward the scalp—that pulls roots and causes tension alopecia over time. Away from the face? Always. It mimics how wind naturally lifts hair. The math is simple: realistic movement > robotic symmetry.
Frequently Asked Questions
Can a curling iron brush work on short hair?
Yes—but only if the barrel is under 1 inch. Short layers need precise control; larger brushes slip off before forming a bend.
How often can I safely use a curling iron brush?
Max 2–3 times per week. Always use heat protectant. Daily use degrades keratin bonds, leading to dryness.
Why do my curls fall out immediately?
You’re likely releasing the curl before it cools. Heat sets the shape, but cooling locks it. Hold for 5 seconds post-heat.